Malley’s Chocolate Box Guide: A Comprehensive Overview (Updated December 16‚ 2025)
Malley’s‚ a cherished tradition for nine decades‚ offers a delightful experience. This guide explores the history‚ varieties‚ and purchasing options for this iconic chocolate‚ updated today!
History of Malley’s Chocolate
Malley’s Chocolate boasts a rich and enduring history‚ spanning nearly a century of confectionery excellence. Originating as a small‚ family-run operation‚ the company quickly gained recognition for its commitment to quality ingredients and time-honored recipes. The story begins in the 1930s‚ a period marked by both economic hardship and a growing desire for small luxuries.
The founders‚ driven by a passion for chocolate making‚ meticulously crafted each piece‚ focusing on delivering an unparalleled taste experience. This dedication resonated with customers‚ establishing a loyal following that would fuel the brand’s growth. Over the decades‚ Malley’s navigated changing consumer preferences and economic landscapes‚ always remaining true to its core values.
The brand’s longevity is a testament to its ability to adapt while preserving the essence of its original charm. From humble beginnings to becoming a beloved regional icon‚ Malley’s Chocolate represents a legacy of craftsmanship‚ family tradition‚ and the simple joy of a perfectly made chocolate.
The Malley Family Legacy
Malley’s Chocolate isn’t simply a business; it’s a vibrant family legacy woven through generations. The founding family’s dedication to quality and innovation established a strong foundation‚ passed down with each successive leader. This commitment extends beyond the recipes themselves‚ encompassing a deep-rooted sense of community and a genuine passion for creating moments of joy.
Throughout the years‚ the Malley family has remained actively involved in all aspects of the business‚ ensuring that the original spirit of the brand endures. They’ve fostered a culture of craftsmanship‚ encouraging employees to take pride in their work and uphold the highest standards. This familial touch is evident in every chocolate‚ reflecting a personal investment in delivering an exceptional product.
The family’s story is intrinsically linked to the history of Malley’s Chocolate‚ representing a commitment to tradition‚ resilience‚ and the enduring power of a shared passion. Their dedication continues to shape the brand’s identity and future.
Early Days & Founding (1930s-1950s)
Malley’s Chocolate began as a modest confectionery venture in the 1930s‚ born from a single family’s dream. During a period marked by economic hardship‚ the founders focused on crafting affordable luxuries – small moments of sweetness to brighten everyday life. Initial operations were centered around a small shop‚ where recipes were perfected and a loyal customer base began to form.
The post-war era (1940s-50s) witnessed a gradual expansion‚ fueled by increasing demand and a reputation for quality. Despite material shortages and economic uncertainties‚ Malley’s remained committed to using the finest ingredients. This dedication to quality‚ even during challenging times‚ became a defining characteristic of the brand.
These formative years laid the groundwork for future success‚ establishing core values that continue to guide the company today. The early focus on craftsmanship and customer satisfaction proved instrumental in building a lasting legacy.
Expansion and Popularity (1960s-1980s)
The 1960s marked a period of significant growth for Malley’s Chocolate. Increased disposable income and changing consumer preferences fueled demand for premium confectionery. Strategic expansion beyond the original storefront began‚ with new retail locations opening in neighboring towns and cities. This expansion wasn’t just about quantity; it was about maintaining the quality and personalized service that defined Malley’s.
The 1970s and 80s saw Malley’s become a regional favorite. Clever marketing campaigns emphasizing family traditions and the joy of gifting solidified its position in the market. The iconic chocolate box‚ with its distinctive ribbon‚ became synonymous with special occasions and heartfelt gestures.
This era also saw the introduction of new chocolate varieties and assortments‚ catering to evolving tastes while staying true to the brand’s classic roots. Malley’s successfully navigated changing times‚ emerging as a beloved and recognizable name.
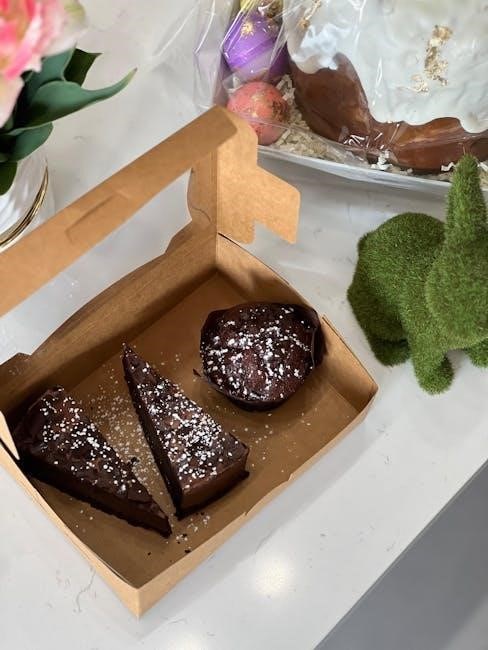
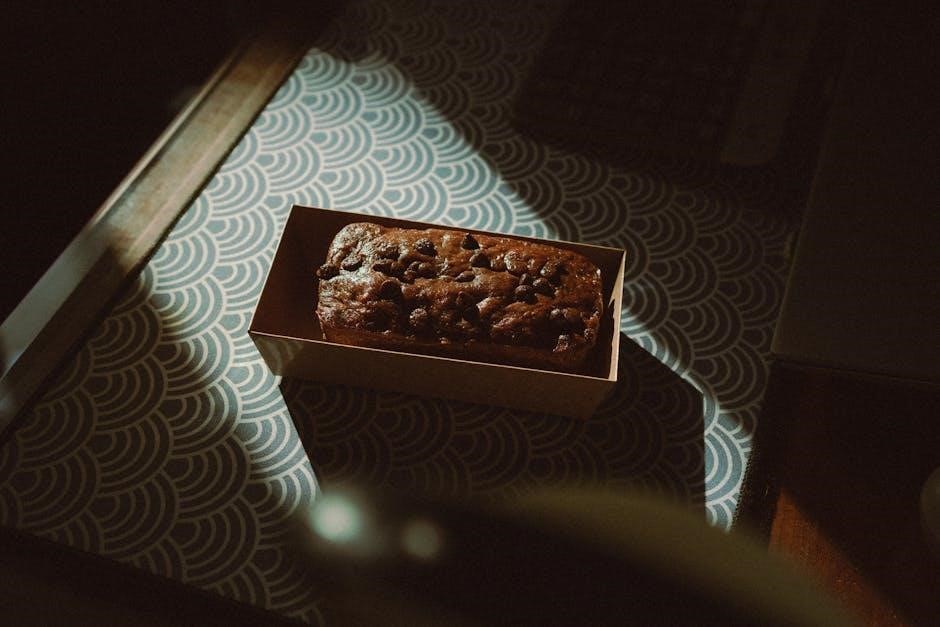
The Iconic Malley’s Chocolate Box
Malley’s chocolate box is more than just packaging; it’s a symbol of tradition and quality. Generations have enjoyed its beautiful presentation and delightful assortment of chocolates.
Box Styles & Variations Through the Years
Malley’s chocolate boxes have evolved significantly since the 1930s‚ reflecting changing tastes and design trends. Initially‚ boxes were simple cardboard affairs‚ often adorned with floral patterns or elegant script. Post-World War II‚ a shift towards more luxurious packaging occurred‚ incorporating embossed designs and richer color palettes.
The 1960s and 70s saw the introduction of boxes featuring geometric patterns and bolder colors‚ mirroring the era’s aesthetic. During the 1980s‚ Malley’s experimented with different box shapes‚ including heart-shaped boxes for Valentine’s Day and larger‚ tiered boxes for special occasions.
Throughout the years‚ limited-edition boxes have been released to commemorate anniversaries or seasonal events. Today‚ Malley’s offers a range of box sizes and styles‚ from small‚ individual servings to large assortments perfect for gifting. The commitment to quality materials and attractive presentation remains constant‚ ensuring each box embodies the Malley’s legacy. Collectors often seek out vintage boxes‚ appreciating their historical significance and unique designs.
The Signature Ribbon & Packaging
Malley’s chocolate is instantly recognizable by its signature packaging‚ most notably the elegant ribbon. Originally a simple satin ribbon in a deep burgundy hue‚ it quickly became synonymous with quality and sophistication. Over time‚ the ribbon’s color has subtly evolved‚ sometimes incorporating gold or silver accents for special editions.
The packaging itself has always prioritized presentation. Boxes are constructed from sturdy materials‚ ensuring chocolates arrive intact and fresh. Interior cushioning‚ traditionally crafted from tissue paper‚ protects each delicate piece. The placement of chocolates within the box is carefully considered‚ creating a visually appealing arrangement.
Malley’s consistently emphasizes a luxurious feel. The ribbon is meticulously tied in a classic bow‚ adding a final touch of elegance. The overall effect is one of refined indulgence‚ making a Malley’s chocolate box a cherished gift. Even the smallest details‚ like the box’s weight and texture‚ contribute to the brand’s premium image‚ reinforcing its longstanding reputation.
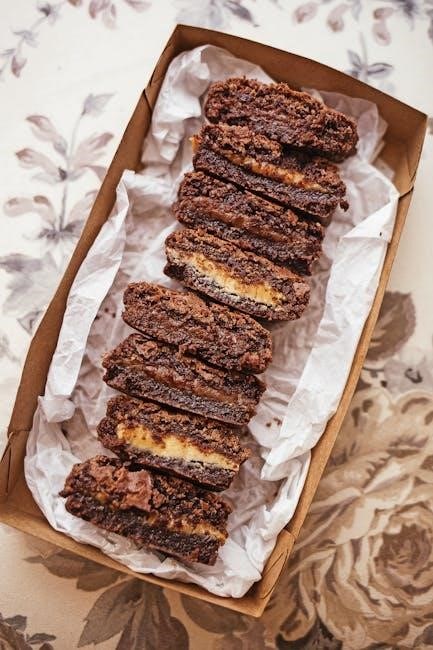
Common Chocolate Assortments
Malley’s chocolate boxes are celebrated for their diverse assortments‚ catering to a wide range of palates. A cornerstone of their offerings is the “Classic Collection‚” featuring time-honored recipes passed down through generations. This typically includes a balanced selection of creams‚ caramels‚ and fruit-filled chocolates.
The “Nut Lover’s” assortment is another popular choice‚ showcasing Malley’s expertise in combining chocolate with various nuts – pecans‚ hazelnuts‚ and almonds are frequently featured. For those preferring a lighter taste‚ the “Fruit & Fondant” selection provides delicate flavors like raspberry‚ lemon‚ and vanilla.
Seasonal assortments are also common‚ with special boxes appearing for holidays like Valentine’s Day‚ Easter‚ and Christmas. These often include limited-edition flavors and uniquely shaped chocolates. Malley’s consistently aims to provide a harmonious blend of textures and tastes within each box‚ ensuring a delightful experience for every chocolate enthusiast.
Classic Creams
Malley’s “Classic Creams” represent the heart of their chocolate-making tradition‚ embodying decades of perfected recipes. These smooth‚ melt-in-your-mouth centers are a signature element of the iconic Malley’s chocolate box experience. The vanilla cream‚ a longstanding favorite‚ offers a simple yet satisfying sweetness‚ while the raspberry cream provides a bright‚ fruity counterpoint.
Other staples include the rich chocolate cream‚ intensely flavored and deeply satisfying‚ and the coffee cream‚ offering a subtle caffeine kick alongside the chocolate indulgence. Malley’s utilizes a unique process to ensure each cream filling has a velvety texture and a balanced sweetness.
These creams aren’t merely fillings; they are carefully crafted components designed to complement the surrounding chocolate shell. The enduring popularity of the “Classic Creams” demonstrates Malley’s commitment to timeless flavors and exceptional quality‚ making them a beloved choice for generations.
Nuts & Caramels
Malley’s “Nuts & Caramels” selection provides a delightful textural contrast to the smooth creams‚ offering a satisfying crunch and chewy sweetness within the classic chocolate box. The pecan caramel‚ a perennial favorite‚ features buttery caramel infused with perfectly roasted pecans‚ enveloped in rich milk chocolate.
Hazelnut praline adds a sophisticated touch‚ combining the delicate flavor of hazelnuts with a smooth‚ creamy praline filling. For those who prefer a bolder taste‚ the peanut butter cup offers a classic combination of creamy peanut butter and decadent chocolate.
Malley’s carefully sources high-quality nuts‚ ensuring each piece delivers a fresh‚ vibrant flavor. The caramels are slow-cooked to achieve a perfectly chewy consistency‚ complementing the crispness of the nuts. These varieties showcase Malley’s ability to balance traditional flavors with exceptional craftsmanship‚ creating a truly indulgent experience.
Fruit & Fondant Fillings
Malley’s “Fruit & Fondant Fillings” represent a lighter‚ brighter side of the chocolate box‚ offering a refreshing counterpoint to the richer creams and caramels. The raspberry fondant‚ a signature piece‚ bursts with the tangy sweetness of real raspberries‚ encased in delicate milk chocolate.
Lemon cream‚ another popular choice‚ provides a zesty and invigorating flavor profile‚ perfectly balanced with the smoothness of the chocolate. For a more exotic experience‚ the orange blossom fondant delivers a floral aroma and subtle citrus notes.
Malley’s utilizes high-quality fruit purees and natural flavorings to create these vibrant fillings. The fondants are meticulously crafted to achieve a smooth‚ melt-in-your-mouth texture. These selections demonstrate Malley’s commitment to offering a diverse range of flavors‚ appealing to a wide spectrum of palates and preferences within the iconic box.
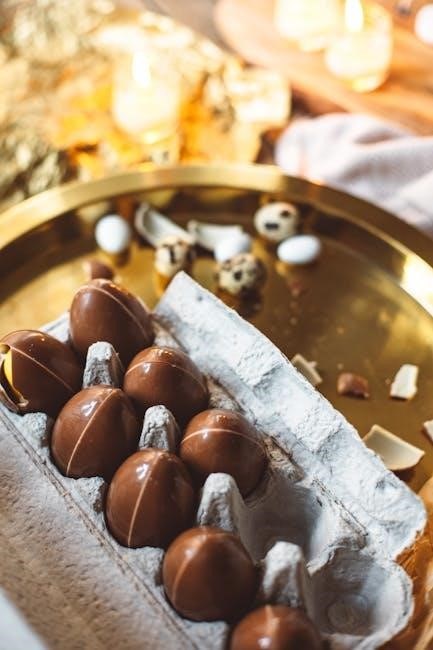
Key Chocolate Varieties Within the Box
Malley’s excels with milk‚ dark‚ and white chocolate selections. Seasonal and limited editions add excitement‚ showcasing innovative flavors and maintaining a tradition of quality.
Malley’s Milk Chocolate – A Defining Flavor
Malley’s milk chocolate stands as the cornerstone of their enduring appeal‚ a flavor profile meticulously crafted over generations. It’s not merely sweetness; it’s a harmonious blend of creamy richness and a subtle cocoa depth that defines the Malley’s experience. The recipe‚ a closely guarded family secret‚ utilizes high-quality cocoa beans and a unique conching process‚ resulting in an exceptionally smooth texture that melts effortlessly on the tongue.
This signature milk chocolate forms the base for many of the most beloved assortments within the iconic Malley’s box. From the classic creams‚ where it envelops delicate fruit and caramel centers‚ to the nutty varieties‚ it provides a comforting counterpoint to the crunch. It’s a flavor that evokes nostalgia for many‚ representing cherished memories and shared moments.
Over the years‚ while Malley’s has experimented with diverse flavors and intensities‚ the milk chocolate remains a constant‚ a testament to its timeless appeal. It’s a flavor that consistently receives praise‚ solidifying Malley’s reputation for quality and tradition. The consistent quality ensures every piece delivers the same delightful experience‚ generation after generation.
Dark Chocolate Offerings & Intensity Levels
Malley’s caters to the discerning palate with a carefully curated selection of dark chocolates‚ ranging from subtly nuanced to intensely rich. Recognizing the growing preference for darker profiles‚ Malley’s offers several distinct intensity levels‚ ensuring a dark chocolate experience for every preference. Their initial offerings began with a mild 50% cocoa content‚ providing a gentle introduction to the darker side of chocolate.
As demand evolved‚ Malley’s expanded its range to include a 60% dark chocolate‚ striking a balance between sweetness and cocoa depth. For true aficionados‚ a 70% and an 85% dark chocolate are available‚ boasting complex flavor notes and a pronounced‚ lingering finish. These higher percentages showcase the origin characteristics of the cocoa beans‚ often featuring hints of fruit‚ spice‚ or earthiness.
Malley’s dark chocolates are frequently incorporated into assortments‚ complementing the milk chocolate and white chocolate offerings. They are also available as standalone pieces‚ perfect for those seeking a sophisticated and intensely flavorful treat. The quality control ensures consistent flavor profiles across all intensity levels.
White Chocolate Specialties
Malley’s elevates white chocolate beyond a simple sweetness with a range of unique specialties‚ demonstrating their commitment to innovation and flavor exploration. While often perceived as less complex‚ Malley’s white chocolate creations are infused with high-quality vanilla and carefully selected ingredients to deliver a truly refined experience. Their signature white chocolate is known for its creamy texture and delicate‚ buttery notes.
Beyond the classic offering‚ Malley’s frequently introduces limited-edition white chocolate pieces featuring inclusions like raspberry‚ pistachio‚ or coconut. These combinations provide a delightful contrast to the sweetness of the white chocolate‚ creating a balanced and harmonious flavor profile. Seasonal variations‚ such as peppermint white chocolate during the holidays‚ are also popular additions to the assortment.
Malley’s white chocolate is often used as a coating for other fillings‚ like pretzels or dried fruits‚ adding a touch of elegance and indulgence. The brand prioritizes using real cocoa butter in their white chocolate‚ ensuring a superior melt and a rich‚ authentic flavor.
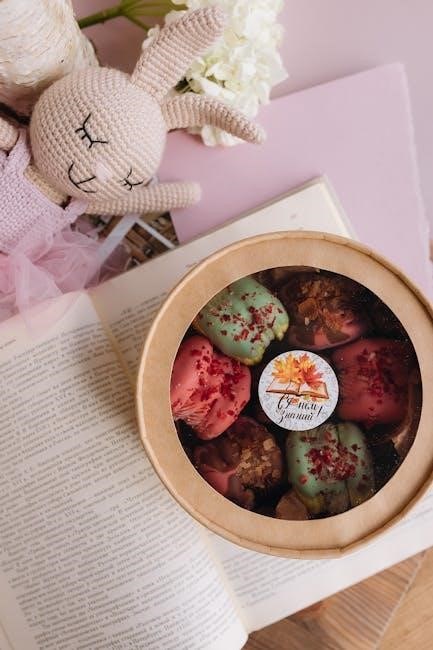
Seasonal & Limited Edition Chocolates
Malley’s consistently delights chocolate aficionados with a rotating selection of seasonal and limited-edition chocolates‚ adding an element of excitement and discovery to each box. These offerings reflect the time of year and often incorporate trending flavors or celebrate special occasions‚ ensuring there’s always something new to savor.
During the spring‚ expect pastel-colored chocolates with floral-infused creams or fruit fillings like strawberry and lemon. The summer brings tropical flavors such as mango‚ pineapple‚ and coconut‚ often presented in lighter‚ refreshing combinations. Autumn introduces warming spices like cinnamon and nutmeg‚ alongside pumpkin and pecan-filled delights.
The holiday season witnesses the most extensive range of limited editions‚ including peppermint bark‚ gingerbread-flavored chocolates‚ and intricately decorated pieces. Malley’s also collaborates with local artisans and chefs to create exclusive‚ small-batch chocolates‚ further enhancing the appeal of these special releases. These limited runs encourage customers to collect and experience the evolving artistry of Malley’s.
Where to Purchase Malley’s Chocolate Today
Malley’s chocolates are available through dedicated retail stores‚ a convenient online platform with shipping‚ and wholesale options for corporate gifting needs.
Malley’s Retail Locations
Malley’s maintains a network of charming retail locations‚ primarily concentrated in the Northeastern United States‚ offering a truly immersive brand experience. These stores aren’t merely points of sale; they are destinations designed to evoke nostalgia and celebrate the art of chocolate making. Each location typically features a wide assortment of boxed chocolates‚ individual pieces‚ seasonal specialties‚ and often‚ exclusive items not available elsewhere.
Customers can expect personalized service from knowledgeable staff eager to guide selections and share the history of Malley’s. Many stores offer beautifully packaged gifts‚ perfect for any occasion. Beyond the chocolates themselves‚ some locations host events like chocolate tastings and demonstrations‚ further enhancing the customer experience. To find the nearest Malley’s store‚ visitors are encouraged to utilize the official website’s store locator‚ which provides addresses‚ phone numbers‚ and operating hours. The website also frequently lists any temporary closures or special events happening at specific locations‚ ensuring a smooth and enjoyable visit for all chocolate enthusiasts.
Online Ordering & Shipping Options
Malley’s offers a convenient and secure online ordering platform‚ extending its reach beyond its brick-and-mortar locations. The official website allows customers nationwide to browse the complete assortment of chocolates‚ including signature boxes‚ seasonal selections‚ and individual treats. Ordering is straightforward‚ with a user-friendly interface and detailed product descriptions.
Malley’s prioritizes the safe arrival of its delicate chocolates‚ employing temperature-controlled shipping methods‚ particularly during warmer months. Several shipping options are available‚ ranging from standard ground delivery to expedited services‚ catering to varying needs and timelines. Customers can track their orders online‚ receiving updates throughout the shipping process. Gift options‚ such as personalized messages and elegant wrapping‚ are readily available during checkout. International shipping is currently limited‚ but Malley’s continuously evaluates expanding its global reach. For optimal freshness‚ it’s recommended to select a shipping option that minimizes transit time‚ ensuring a delightful experience upon arrival.
Wholesale & Corporate Gifting
Malley’s Chocolate recognizes the power of gifting and offers comprehensive wholesale and corporate gifting programs designed to meet diverse business needs. Businesses can procure Malley’s chocolates in bulk at competitive wholesale rates‚ ideal for resale or inclusion in curated gift baskets. Dedicated account managers assist with order customization‚ ensuring seamless transactions and tailored solutions.
Malley’s excels in creating impactful corporate gifts‚ offering options like branded chocolate boxes‚ custom ribbon imprinting with company logos‚ and personalized gift messages. These chocolates serve as thoughtful tokens of appreciation for clients‚ employees‚ or partners. Bulk discounts are available‚ making Malley’s a cost-effective choice for large-scale gifting initiatives. The team provides assistance with selecting appropriate assortments and packaging to align with brand identity and event themes. Malley’s ensures timely delivery and professional presentation‚ reinforcing positive relationships and leaving a lasting impression. Detailed program information and contact details for the wholesale/corporate gifting team are available on the official website.