
Embarking on a zero-carb journey necessitates understanding its core principles․ Many resources, like downloadable zero carb foods list PDFs, detail acceptable food choices for optimal adherence and success․
What Defines a Zero Carb Diet?
A truly zero-carb diet rigorously excludes all carbohydrates – not just sugars and starches, but even those found in vegetables and fruits․ This means focusing entirely on animal products: meat, fish, poultry, eggs, and certain high-fat dairy․ Many individuals utilize a zero carb foods list PDF as a crucial guide, ensuring strict adherence to permitted items․ These lists typically categorize acceptable foods, clarifying which cuts of meat, types of seafood, and dairy products align with the diet’s stringent requirements․
The Appeal of Eliminating Carbohydrates
The primary draw of a zero-carb diet lies in its potential for rapid metabolic shifts․ Proponents believe complete carbohydrate restriction forces the body into a state of ketosis, then beyond, maximizing fat utilization for energy․ A readily available zero carb foods list PDF simplifies this transition, offering a clear framework for food selection․ Individuals are attracted to the potential for weight loss, improved blood sugar control, and enhanced mental clarity․ These lists provide a tangible tool, reducing the cognitive load of meal planning and ensuring dietary compliance․

Understanding Carbohydrates
Grasping carbohydrate types – simple versus complex – is crucial before eliminating them․ A zero carb foods list PDF highlights which foods to avoid for successful implementation․
Types of Carbohydrates: Simple vs․ Complex
Carbohydrates fuel the body, but understanding their forms is vital for a zero-carb approach․ Simple carbs, found in fruits and sugars, provide quick energy but lack sustained benefits․ Complex carbs, present in grains and starches, offer slower release but are still excluded on this diet․
A comprehensive zero carb foods list PDF will clearly delineate which foods fall into each category, aiding in strict avoidance․ Recognizing these distinctions empowers informed food choices, ensuring complete carbohydrate elimination․ This knowledge is foundational for achieving and maintaining a true zero-carb lifestyle, focusing solely on proteins and fats․
Hidden Carbohydrates in Common Foods
Successfully navigating a zero-carb diet requires vigilance beyond obvious sources․ Many processed foods, sauces, and even seemingly healthy options harbor hidden carbohydrates as additives or fillers․ These sneaky carbs can derail progress and hinder ketosis․
A detailed zero carb foods list PDF often highlights these surprising sources, like certain condiments or processed meats․ Thorough label reading is crucial, focusing on net carbs (total carbs minus fiber)․ Awareness of these hidden carbs ensures strict adherence and maximizes the diet’s potential benefits, preventing unintentional carbohydrate intake․
The Zero Carb Food List: Core Components
Essential zero-carb eating centers around animal products․ A comprehensive zero carb foods list PDF will detail permissible meats, fish, eggs, and acceptable fats for sustained energy․
Meat & Poultry: The Foundation
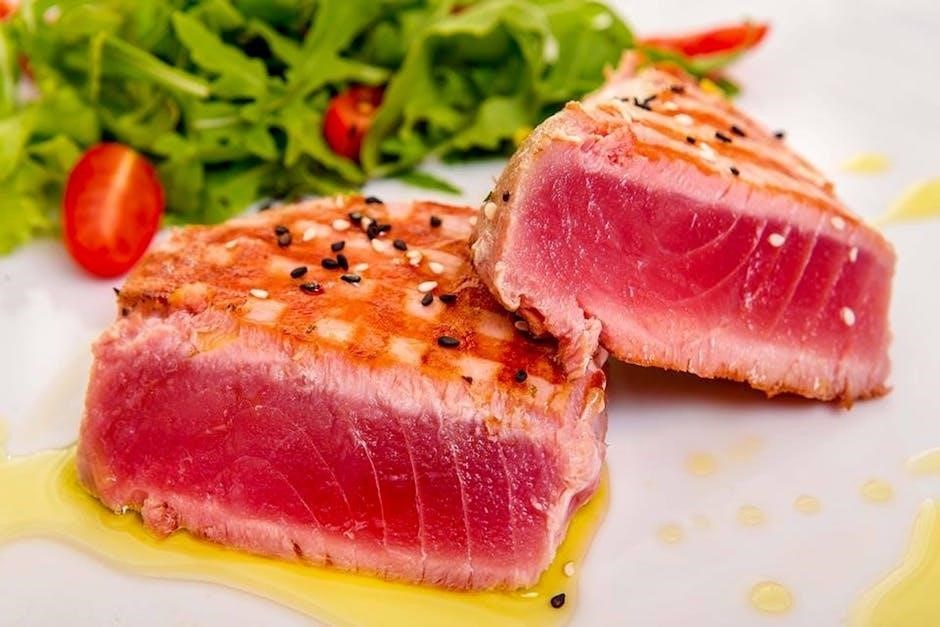
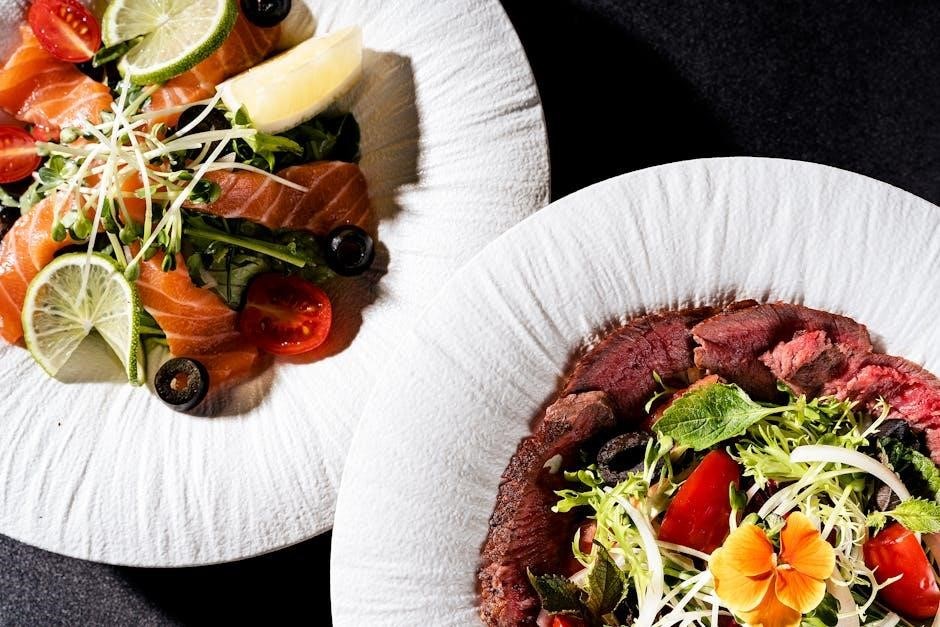
Meat and poultry form the cornerstone of a zero-carb diet, providing essential protein and fats․ Any cut of beef, pork, lamb, chicken, turkey, or game is generally permitted, ensuring adequate nutrient intake․ A detailed zero carb foods list PDF will often categorize options, highlighting grass-fed and pasture-raised choices for superior nutritional profiles․ Prioritize fatty cuts for increased satiety and energy․ Processed meats with added sugars or starches are strictly avoided․ Focusing on whole, unprocessed animal proteins is key to success, and these lists are invaluable for beginners navigating this restrictive diet․
Fish & Seafood: Essential Fatty Acids
Fish and seafood are vital components, delivering crucial omega-3 fatty acids often lacking in other zero-carb sources․ Fatty fish like salmon, mackerel, sardines, and herring are particularly beneficial․ Shellfish, including shrimp, crab, lobster, and oysters, are also excellent choices․ A comprehensive zero carb foods list PDF will typically detail acceptable species and serving sizes․ Wild-caught options are preferred for their higher nutrient density and lower contaminant levels․ These marine proteins contribute significantly to overall health while adhering strictly to the zero-carb principle, making them a dietary staple․
Eggs: A Versatile Zero Carb Option
Eggs stand out as a remarkably versatile and nutrient-dense food perfectly suited for a zero-carb lifestyle․ They provide complete protein, healthy fats, and essential vitamins and minerals․ Whether scrambled, fried, boiled, or made into omelets, eggs offer endless culinary possibilities․ A detailed zero carb foods list PDF will confirm eggs’ inclusion and may offer recipe ideas․ Concerns about cholesterol are largely outdated; eggs generally don’t negatively impact blood cholesterol levels for most individuals․ Prioritize high-quality, pasture-raised eggs whenever possible for optimal nutritional benefits․

Fats & Oils on a Zero Carb Diet
Fat is crucial for energy on a zero-carb plan․ A zero carb foods list PDF highlights acceptable sources like animal fats, avocado oil, and olive oil․
Animal Fats: Lard, Tallow, and More
Animal fats are foundational to a zero-carb diet, providing essential calories and nutrients․ Lard, derived from pig fat, and tallow, from beef or mutton, are excellent choices․ These fats were historically dietary staples and offer superior stability for cooking at high temperatures․ A comprehensive zero carb foods list PDF will invariably feature these prominently․
Furthermore, fats from fatty cuts of meat, poultry skin, and even bone marrow contribute significantly to fat intake․ Prioritizing these natural fat sources ensures satiety and supports metabolic adaptation․ They are often preferred over processed oils due to their nutrient density and minimal processing․
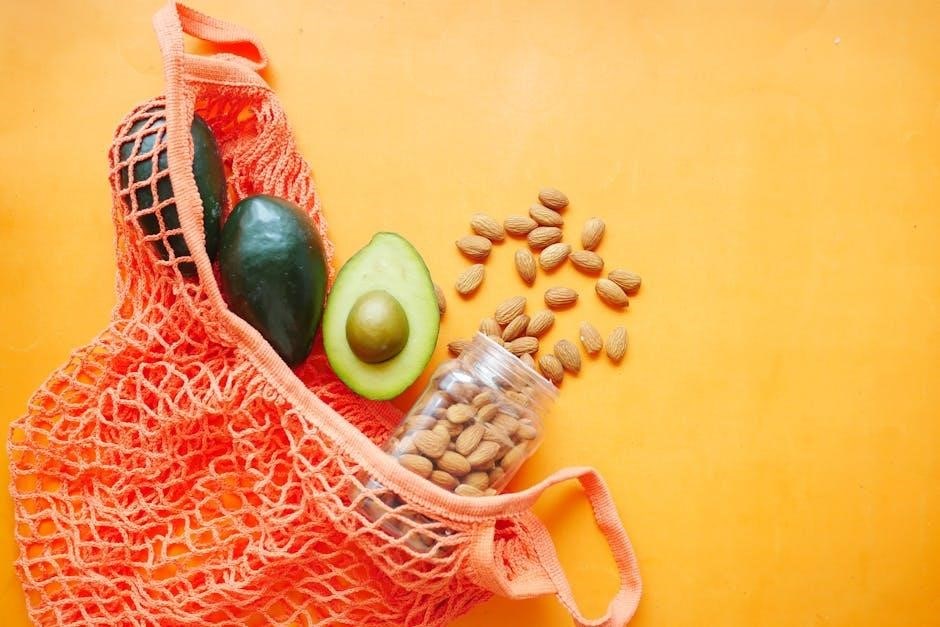
Avocado Oil & Olive Oil: Acceptable Choices?
Avocado oil and olive oil occupy a gray area on a strict zero-carb diet․ While containing minimal carbohydrates, some purists exclude them due to processing and potential for inflammation․ A detailed zero carb foods list PDF might list them as conditional, suitable in moderation for those prioritizing flavor or specific cooking needs․
Extra virgin olive oil, cold-pressed, is generally favored over refined versions․ Avocado oil’s high smoke point makes it useful for higher-heat cooking․ However, reliance on animal fats remains central, with these oils serving as supplemental options rather than primary fat sources․
Dairy & Zero Carb Considerations
Dairy inclusion varies on zero carb․ A zero carb foods list PDF will highlight hard cheeses as generally acceptable, while cream and butter require mindful portion control due to lactose content․
Hard Cheeses: Generally Permitted
Hard cheeses typically align well with a zero-carb lifestyle due to their minimal carbohydrate content․ Varieties like cheddar, parmesan, and Swiss contain trace amounts, often negligible enough to be considered zero carb․ A comprehensive zero carb foods list PDF will usually feature these as staples․ However, always check nutritional labels, as carb counts can vary between brands and specific cheese types․ Prioritize full-fat options for satiety and to align with the diet’s focus on fat as a primary energy source․ Be mindful of portion sizes, even with permissible foods, to maintain optimal metabolic state․
Cream & Butter: Usage Guidelines
Heavy cream and butter are valuable additions to a zero-carb diet, providing essential fats for energy․ A detailed zero carb foods list PDF will confirm their acceptability․ However, moderation is key․ While technically zero-carb, excessive consumption can hinder weight loss or metabolic goals․ Utilize them liberally in cooking to enhance flavor and increase fat intake․ Opt for grass-fed butter when possible for a superior nutrient profile․ Be cautious of flavored creams, as added sugars can introduce unwanted carbohydrates․ Prioritize full-fat dairy for optimal results and sustained energy․

Vegetables: The Tricky Area
Vegetable inclusion on zero-carb is debated; a zero carb foods list PDF clarifies acceptable options․ Leafy greens are generally permitted in limited quantities due to trace carbs․
Leafy Greens: Limited Inclusion
While not entirely off-limits, leafy greens require mindful consumption on a strict zero-carb diet․ A comprehensive zero carb foods list PDF will often detail acceptable quantities, recognizing even these healthy options contain minimal carbohydrates․ Spinach, kale, lettuce, and chard can be included, but portion control is crucial․
The goal is to minimize carbohydrate intake to zero, so large servings are discouraged․ Prioritize non-leafy options when possible, and carefully track intake if including greens․ Remember, individual tolerance varies, and monitoring blood glucose levels can help determine personal limits․
Non-Starchy Vegetables: Acceptable Amounts
A well-crafted zero carb foods list PDF will outline permissible non-starchy vegetables, acknowledging their trace carbohydrate content․ Options like broccoli, cauliflower, asparagus, and zucchini can be incorporated in limited quantities․ These provide essential nutrients while striving for near-zero carb intake․
However, strict adherence demands careful portion control․ While beneficial, even these vegetables contribute some carbs․ Monitoring individual responses and blood glucose levels is vital․ Prioritize maximizing fat intake to maintain satiety and energy levels while keeping vegetable consumption moderate, as detailed in reliable resources․

Beverages on a Zero Carb Plan
Hydration is key! A zero carb foods list PDF emphasizes water as the primary choice, alongside unsweetened tea or coffee consumed in strict moderation․
Water: The Primary Hydration Source
Water is absolutely fundamental on a zero-carb diet, serving as the cornerstone of hydration․ Unlike many beverages, pure water contains zero carbohydrates, making it perfectly aligned with the dietary restrictions․ A comprehensive zero carb foods list PDF will invariably prioritize water intake, often recommending substantial daily consumption․ Staying adequately hydrated supports metabolic processes, aids in satiety, and helps mitigate potential side effects like the “keto flu” during the initial adaptation phase; It’s crucial to drink water consistently throughout the day, not just when feeling thirsty, to maintain optimal bodily function and support the diet’s effectiveness․
Unsweetened Tea & Coffee: Moderation is Key
Unsweetened tea and coffee can generally be included on a zero-carb diet, but moderation is vital․ While they contain negligible carbohydrates themselves, additions like milk, cream, or sweeteners are strictly prohibited․ A detailed zero carb foods list PDF will typically outline these limitations․ These beverages can provide a welcome energy boost and assist with appetite suppression․ However, excessive caffeine intake can lead to adverse effects․ Therefore, mindful consumption is recommended, ensuring they complement, rather than compromise, the diet’s principles and overall health goals․

Foods to Absolutely Avoid
Strict avoidance of grains, fruits, and sugars is paramount․ A comprehensive zero carb foods list PDF clearly delineates these prohibited items for successful dietary adherence․
Grains & Starches: A Strict No-Go
Grains and starches are entirely excluded on a zero-carb diet due to their high carbohydrate content․ This encompasses all forms – wheat, rice, corn, oats, barley, and rye․ Starchy vegetables like potatoes, sweet potatoes, and yams are also prohibited․ A detailed zero carb foods list PDF will explicitly list these exclusions, emphasizing that even seemingly small portions can disrupt ketosis․ Understanding this strict rule is fundamental; even “whole grain” options are off-limits․ Focus shifts entirely to protein and fat sources, eliminating these carbohydrate-rich staples for metabolic adaptation and success․ Careful label reading is crucial, as hidden starches are common․
Fruits: High Sugar Content
Fruits are generally avoided on a strict zero-carb diet because of their natural sugar (fructose) content․ Even small servings can significantly impact carbohydrate intake․ A comprehensive zero carb foods list PDF will clearly demonstrate this exclusion, highlighting that all fruits – berries, apples, bananas, oranges, and others – are not permissible․ While some low-carb diets allow limited berries, a zero-carb approach demands complete elimination․ This restriction is vital for maintaining a state of carbohydrate restriction and achieving metabolic benefits․ Prioritize fat and protein sources instead of relying on fruit for nutrients․
Sugars & Sweeteners: Completely Excluded
All forms of sugar and sweeteners are strictly prohibited on a zero-carb diet․ This includes refined sugars (white sugar, brown sugar), natural sweeteners (honey, maple syrup, agave), and artificial sweeteners (aspartame, sucralose, stevia)․ A detailed zero carb foods list PDF will emphatically state this rule․ Even seemingly “healthy” sweeteners contribute carbohydrates, hindering metabolic adaptation; Reading ingredient labels is crucial to identify hidden sugars in processed foods․ Complete exclusion ensures the body remains in a carbohydrate-free state, maximizing potential benefits and avoiding metabolic disruption․
Potential Benefits of a Zero Carb Diet
A zero-carb approach may promote weight loss, improve metabolic health, and enhance blood sugar control․ Consult a zero carb foods list PDF for guidance․
Weight Loss & Metabolic Health
Zero carb diets often lead to rapid weight loss, primarily due to water expulsion and reduced insulin levels․ This metabolic shift encourages the body to utilize stored fat for energy․ Utilizing a comprehensive zero carb foods list PDF is crucial for success, ensuring adherence and maximizing fat adaptation․
Furthermore, eliminating carbohydrates can improve insulin sensitivity, potentially reversing type 2 diabetes and enhancing overall metabolic function․ Careful planning, guided by a detailed food list, helps maintain electrolyte balance and prevents nutritional deficiencies during this significant dietary change․
Improved Blood Sugar Control
Zero carb diets demonstrate a powerful ability to stabilize blood sugar levels by completely removing glucose sources․ This is particularly beneficial for individuals with insulin resistance or diabetes․ A well-structured zero carb foods list PDF becomes an essential tool, guiding food choices to maintain consistently low blood glucose and HbA1c readings․
By eliminating carbohydrates, the body reduces its reliance on insulin, leading to improved metabolic flexibility․ Careful adherence, supported by a detailed food list, minimizes blood sugar spikes and crashes, promoting sustained energy levels and overall health․

Potential Risks & Side Effects
Transitioning to zero carb can cause temporary issues․ A zero carb foods list PDF aids planning, but nutrient deficiencies and the “keto flu” are possible․
Nutrient Deficiencies & Supplementation
A strictly zero-carb diet, while eliminating many concerns, presents potential nutritional gaps․ Relying solely on animal products can lead to deficiencies in micronutrients like Vitamin C, potassium, and magnesium – nutrients absent in typical zero-carb food lists․ Utilizing a comprehensive zero carb foods list PDF helps identify missing elements․
Therefore, strategic supplementation is often crucial․ Consider a multivitamin, electrolyte supplements (sodium, potassium, magnesium), and potentially Vitamin D, especially with limited sun exposure․ Careful monitoring of blood levels and personalized supplementation plans, guided by a healthcare professional, are highly recommended to mitigate risks and ensure long-term health․
The “Keto Flu” & Adaptation Period
Transitioning to zero carb often triggers the “keto flu,” a temporary cluster of symptoms like headache, fatigue, and nausea, as the body adapts to using fat for fuel․ This period, lasting days to weeks, is intensified by electrolyte imbalances due to reduced insulin levels․ A detailed zero carb foods list PDF won’t prevent this, but informs appropriate food choices during adaptation․
Prioritize adequate hydration and electrolyte intake (sodium, potassium, magnesium) to minimize symptoms․ Increasing fat intake can also aid the transition․ Understanding this adaptation phase, and preparing accordingly, is vital for successful long-term adherence to a zero-carb lifestyle․
Zero Carb vs․ Other Low-Carb Diets
Zero carb drastically differs from keto or Atkins, eliminating all carbohydrates․ A zero carb foods list PDF highlights this strictness, contrasting with other diets’ allowances․
Zero Carb vs․ Keto: Key Differences
While both restrict carbohydrates, the divergence between zero carb and ketogenic diets is substantial․ Keto allows a limited carbohydrate intake – typically 20-50 grams daily – to induce ketosis․ Zero carb, conversely, aims for complete carbohydrate elimination․ This means no fruits, starches, or even most vegetables․
A detailed zero carb foods list PDF will demonstrate this stark contrast; it will feature primarily animal products, fats, and minimal leafy greens․ Keto permits certain vegetables and dairy, broadening food choices․ Zero carb prioritizes metabolic adaptation to fat as the sole energy source, a more rigorous approach than keto’s carbohydrate allowance․
Zero Carb vs․ Atkins: A Comparison
The Atkins diet, a phased approach, initially restricts carbohydrates but gradually reintroduces them․ This contrasts sharply with the uncompromising nature of a zero-carb diet․ Atkins utilizes carbohydrate “induction” phases, while zero carb maintains consistent, absolute restriction․ Examining a zero carb foods list PDF reveals a focus solely on animal products and fats – a far cry from Atkins’ eventual inclusion of fruits and grains․
Atkins aims for weight loss through controlled carbohydrate cycling; zero carb seeks complete metabolic shift․ While both can yield results, zero carb demands stricter adherence and a more fundamental dietary overhaul․
Resources for Zero Carb Dieters
Numerous online platforms offer support, including forums and downloadable guides․ A comprehensive zero carb foods list PDF is invaluable for meal planning and adherence․
Online Communities & Support Groups
Navigating a zero-carb lifestyle is significantly easier with a supportive network․ Online communities, often found on platforms like Reddit and Facebook, provide spaces for sharing experiences, recipes, and troubleshooting challenges․ Many groups curate and share valuable resources, including detailed zero carb foods list PDFs․ These lists are frequently updated by community members to reflect the latest understanding of acceptable foods and potential hidden carbohydrates․
Active participation allows dieters to learn from others’ successes and failures, fostering motivation and long-term adherence․ Seeking advice and sharing progress within these groups can be incredibly beneficial․
PDF Guides & Meal Planning Tools
Streamlining a zero-carb diet often involves utilizing readily available resources․ Numerous websites offer downloadable zero carb foods list PDFs, providing a concise and portable reference for grocery shopping and meal preparation․ Beyond simple lists, comprehensive PDF guides often include sample meal plans, recipe ideas, and detailed explanations of the diet’s principles․
Digital meal planning tools, sometimes integrated with these PDFs, can further simplify the process by automating grocery lists and tracking macronutrient intake, ensuring strict adherence to the zero-carb protocol․